Keeping the Horizon Straight
There are few things more annoying than a squint horizon in a shot. It can totally detract from a decent image and it’s so easy to check for and correct. Horizon leveling should ideally be part of your normal workflow when processing any image.
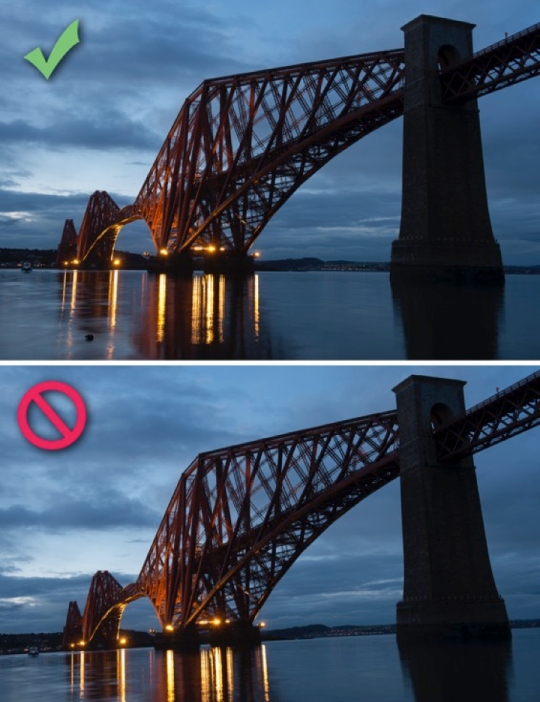
Check out the difference.
It’s such an easy thing to correct in Photoshop and make such a difference to the final output. If you are posting online a squint horizon is one of those things that can make a different between your shot being ignored or loved. The squint horizon says, I can’t be bothered to correct this. The straight out the camera excuse never washes either. There’s no kudos in saying a shot is straight from the camera, shots need to be developed, it’s part of the process and has been since film days.
If you shoot in RAW one of the easiest things you can do is to use the auto straighten tool.
A simple double click will auto straighten the image, it doesn’t work all the time but it’s usually pretty accurate, more so if there is a horizon in the shot. Clicking once on the icon and then moving it over the image lets you draw a line to straighten the image but I don’t recommend it, it’s fiddly and the method below works better.
If that doesn’t work an easier method is to use the guidelines in Photoshop, pull a guide onto the image near what should be a straight horizon or even a vertical. The access the guides, just click in the ruler to the left or top and drag onto the image. If the ruler isn’t there, go to VIEW and switch on RULERS. Then use ctrl A to select the entire image and then go to EDIT – TRANSFORM – ROTATE and level up the horizon using the guideline. The video below should demonstrate.
Once you are happy with the result, use the crop tool to chop off the white edges.
There you have it, something that will take you 30s to do and will transform your image, has to be worth 30s of work on post processing after you put the effort into get out and take the image no?

